Renderings for a historic district review: what a preservation commission needs to see
What a preservation commission checks before it grants a certificate of appropriateness, and the renderings, visibility studies and photos that answer it.
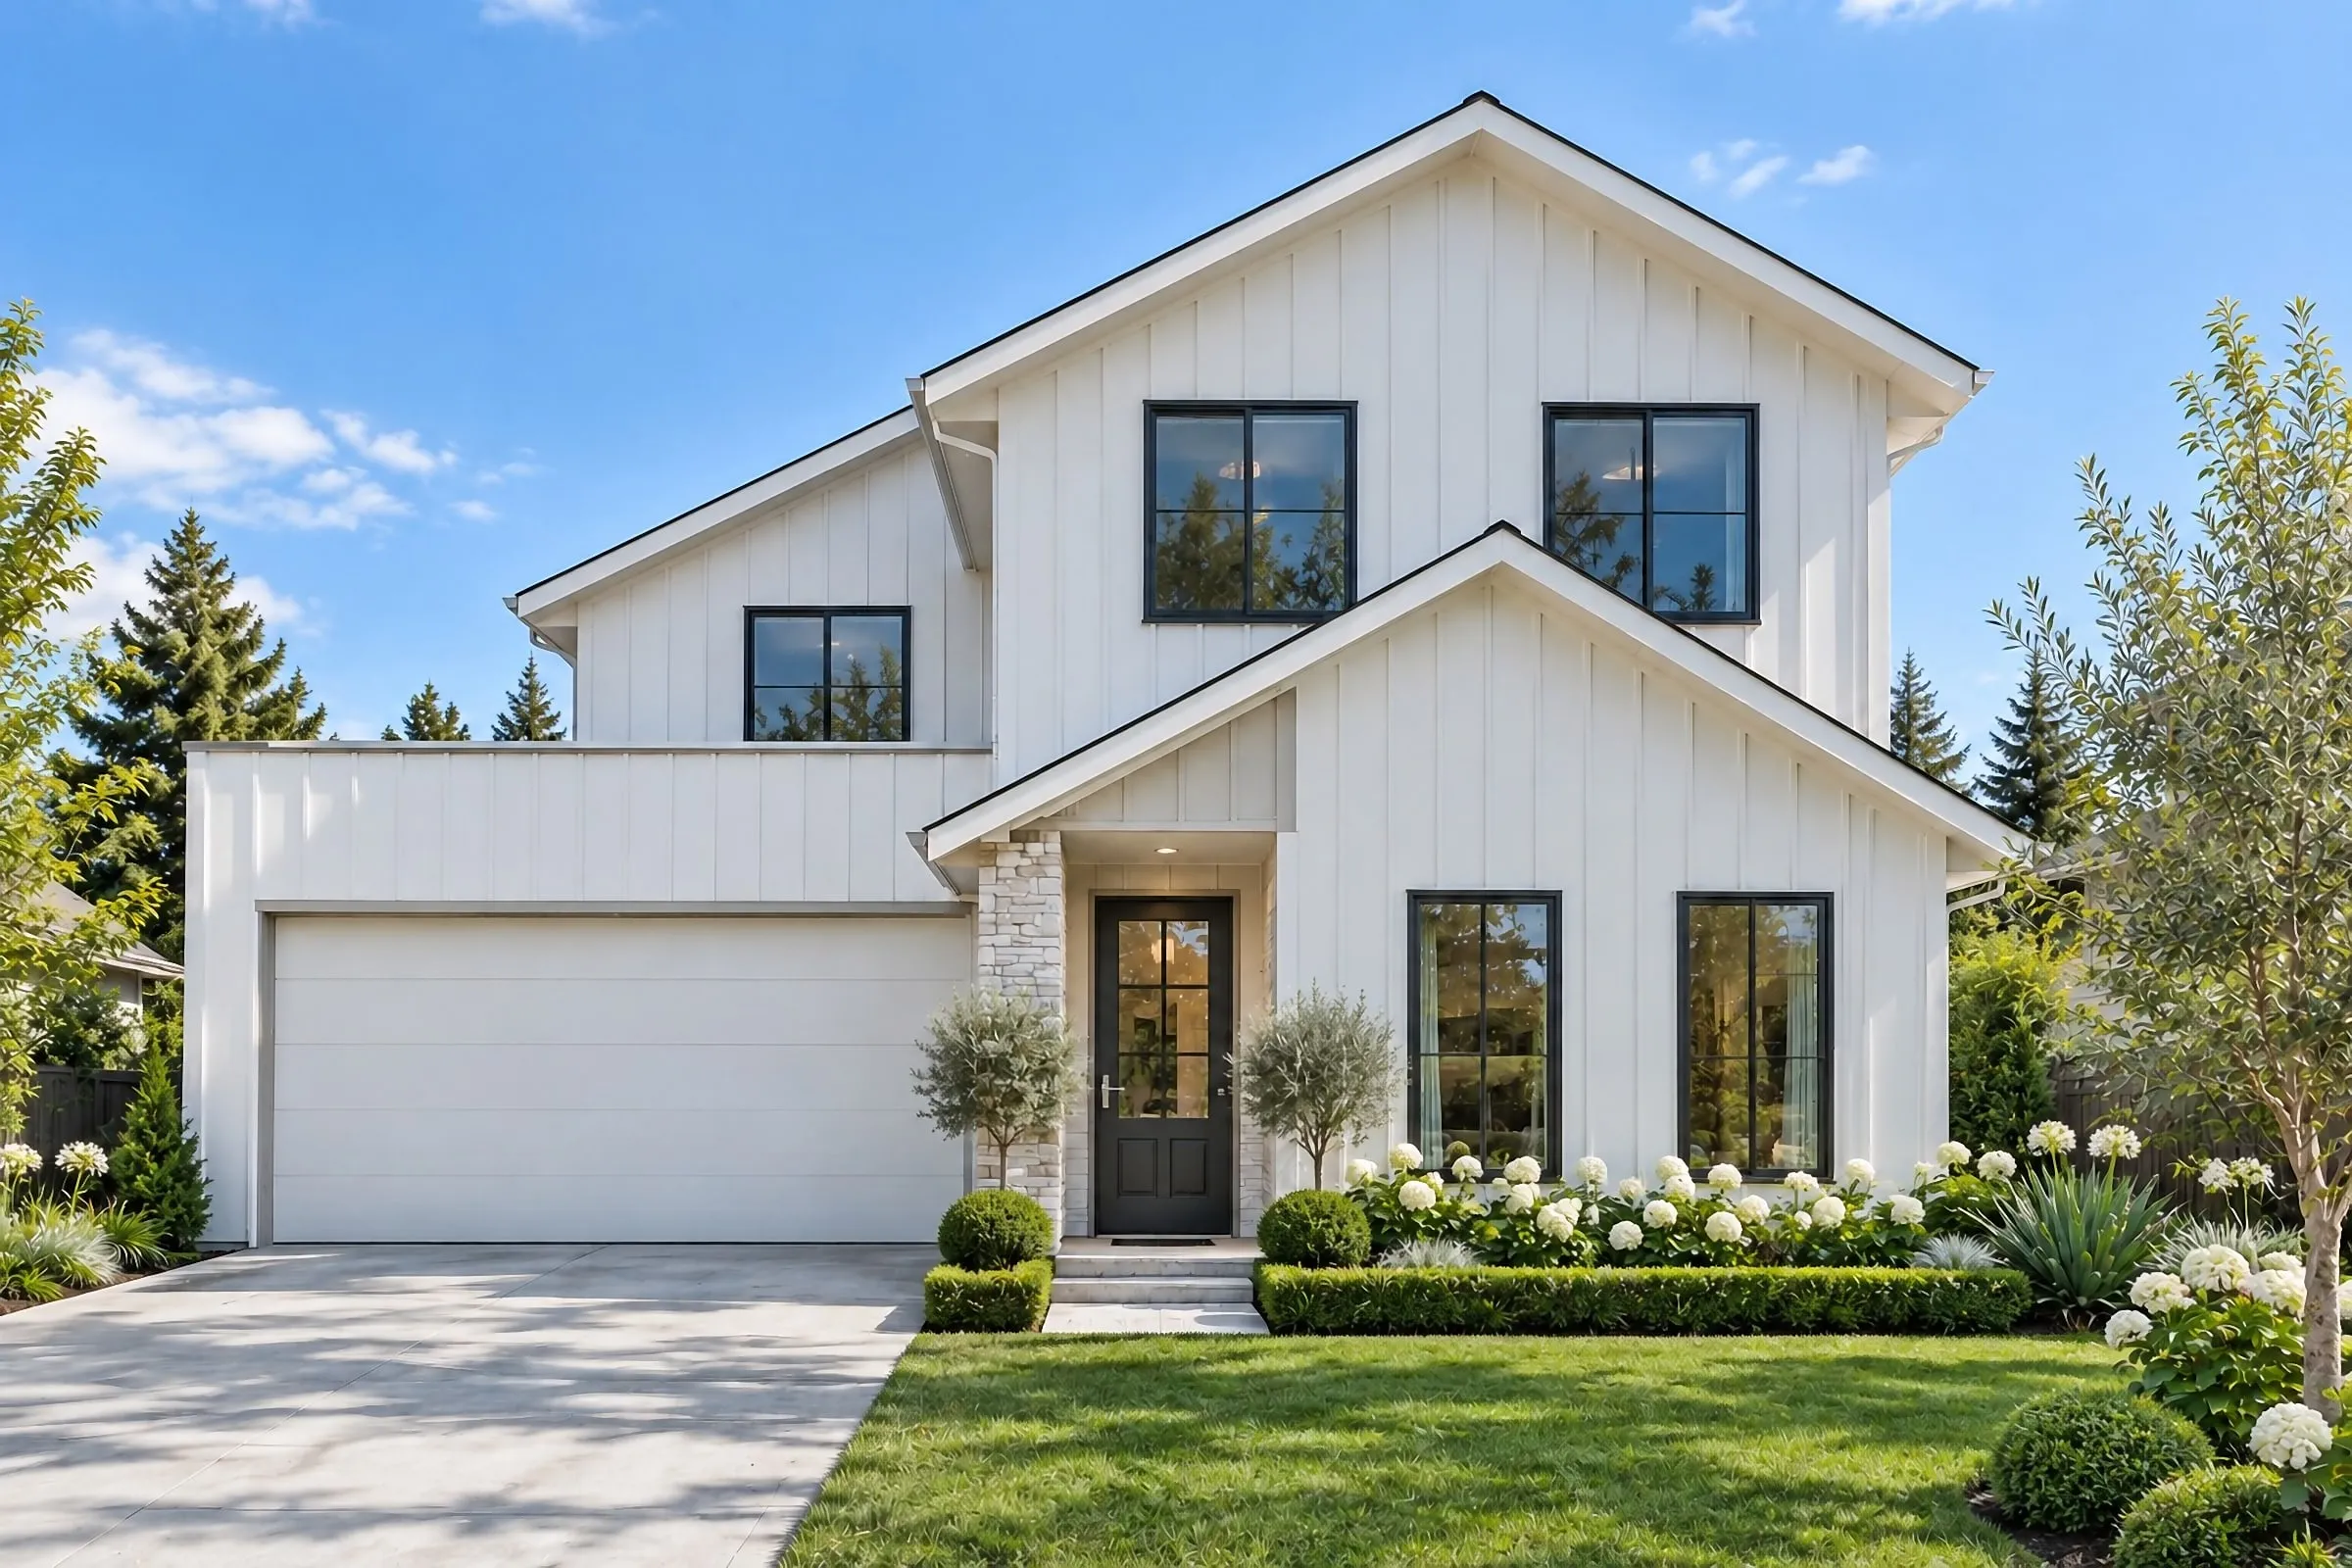
In a historic district, changing the outside of a building can need a permit of its own. In Alexandria, Virginia, a certificate of appropriateness is required for all new construction and exterior alterations in a local historic district that are visible from a public right of way (City of Alexandria). In Pittsburgh, one is required before a demolition, building or sign permit is issued for a historic structure or a structure in a historic district (City of Pittsburgh, COA application). The body that grants it might be a landmarks commission, a historic review commission or a board of architectural review.
For an addition, a new rooftop floor or a new building on an empty lot, the renderings carry much of the argument. This guide covers what the commission decides, the views and materials that answer it, and one image set for the whole process. For a homeowners association’s private committee, see renderings for an HOA architectural review.
What the commission is deciding
New York’s Landmarks Preservation Commission “assesses the effects of the proposed work on the building’s appearance and character” to decide whether a project is “appropriate”, the legal standard every alteration has to meet. In a historic district it also considers “the effect of the proposed work on neighboring buildings and on the special character of the district” (NYC LPC, Public Presentation Guidelines).
The federal yardstick is the Secretary of the Interior’s Standards for the Treatment of Historic Properties, which the National Park Service says are “widely used, and have been adopted at the Federal, State, and local levels” (National Park Service). Two of its Standards for Rehabilitation deal with new work. Standard 9 says new work “will be differentiated from the old and will be compatible with the historic materials, features, size, scale and proportion, and massing”. Standard 10 says new additions are built so that, “if removed in the future, the essential form and integrity of the historic property and its environment would be unimpaired” (36 CFR 68.3(b)).
That gives the renderings three jobs. The existing building has to be exact, because the commission judges what the new work does to it. The new work has to read as new without shouting. And size, scale and massing have to be true, which rules out every flattering camera trick.
Why drawings are often not enough
Writing about rooftop additions, the National Park Service’s Preservation Brief 14 says “drawings generally do not provide a true ‘picture’ of the appearance and visibility of a proposed rooftop addition”, so it is often necessary to build a temporary mockup that can be “photographed and evaluated from critical vantage points on surrounding streets.” A mockup, or a mockup enhanced by a computer-generated rendering, “is essential to evaluate the impact of a proposed rooftop addition” (NPS, Preservation Brief 14).
Cities write the mockup into their rules. New York always requires one for rooftop additions of occupiable space (LPC Permit Guidebook, Chapter 6). Boston requires a mockup of the proposed height and volume for roof decks, headhouses, additions and rooftop equipment, with photographs of it taken both on the roof and at ground level (Boston Landmarks Commission, design review guide).
So where a mockup is required, a rendering doesn’t replace it. It does what a frame of 2x4s and orange netting can’t: it shows the finished design, in its real materials, from the points the mockup was photographed from.
The views that matter, all from the public way
Brief 14 says the features “which can be seen from a public right of way, such as a street or sidewalk, are most likely to be the most significant”, and that a new addition “should not be highly visible from the public right of way.” The views follow from that:
- Across the street, at eye height. New York asks for a sightline section “taken at 6-foot eye level from directly across the street at the property line and at other points where the addition may be visible” (LPC Permit Guidebook). The rendering from that spot should agree with the section exactly.
- Down the block, both ways. An addition hidden from straight across the street can show from an angle. New York wants montages from every surrounding street spot where the addition is most visible and where it is least visible, and from several points between them. At a 2021 meeting of the Philadelphia Historical Commission’s Architectural Committee, one member added that visibility from down the street was a concern too, and the chair called a sightline drawing incomplete because it did not show the existing facade, cornice or windows (minutes, June 2021).
- Before and after from one camera. New York requires each proposed image to sit beside an existing “before” image, with the addition circled or highlighted if it is hard to see, and telephoto or zoomed-in views as well (LPC Permit Guidebook).
- A key plan. New York wants each image numbered, labeled with where it was taken and keyed to a site map, a good habit anywhere.
Rooftop additions get closer scrutiny. Brief 14 says one “should be minimally visible”, generally no more than one story, and generally set back “at least one full bay from the primary elevation of the building.” In New York, one route to staff approval of an occupiable rooftop addition is a measured test: on a building up to 60 feet tall, no more than 12 inches may be visible from a public thoroughfare. Applicants answer for the accuracy of the mockup, sightlines and montages, and if an addition is built more visible than its application showed, the owner may have to change it or take it down.
Presentation-level drawings and labeled materials
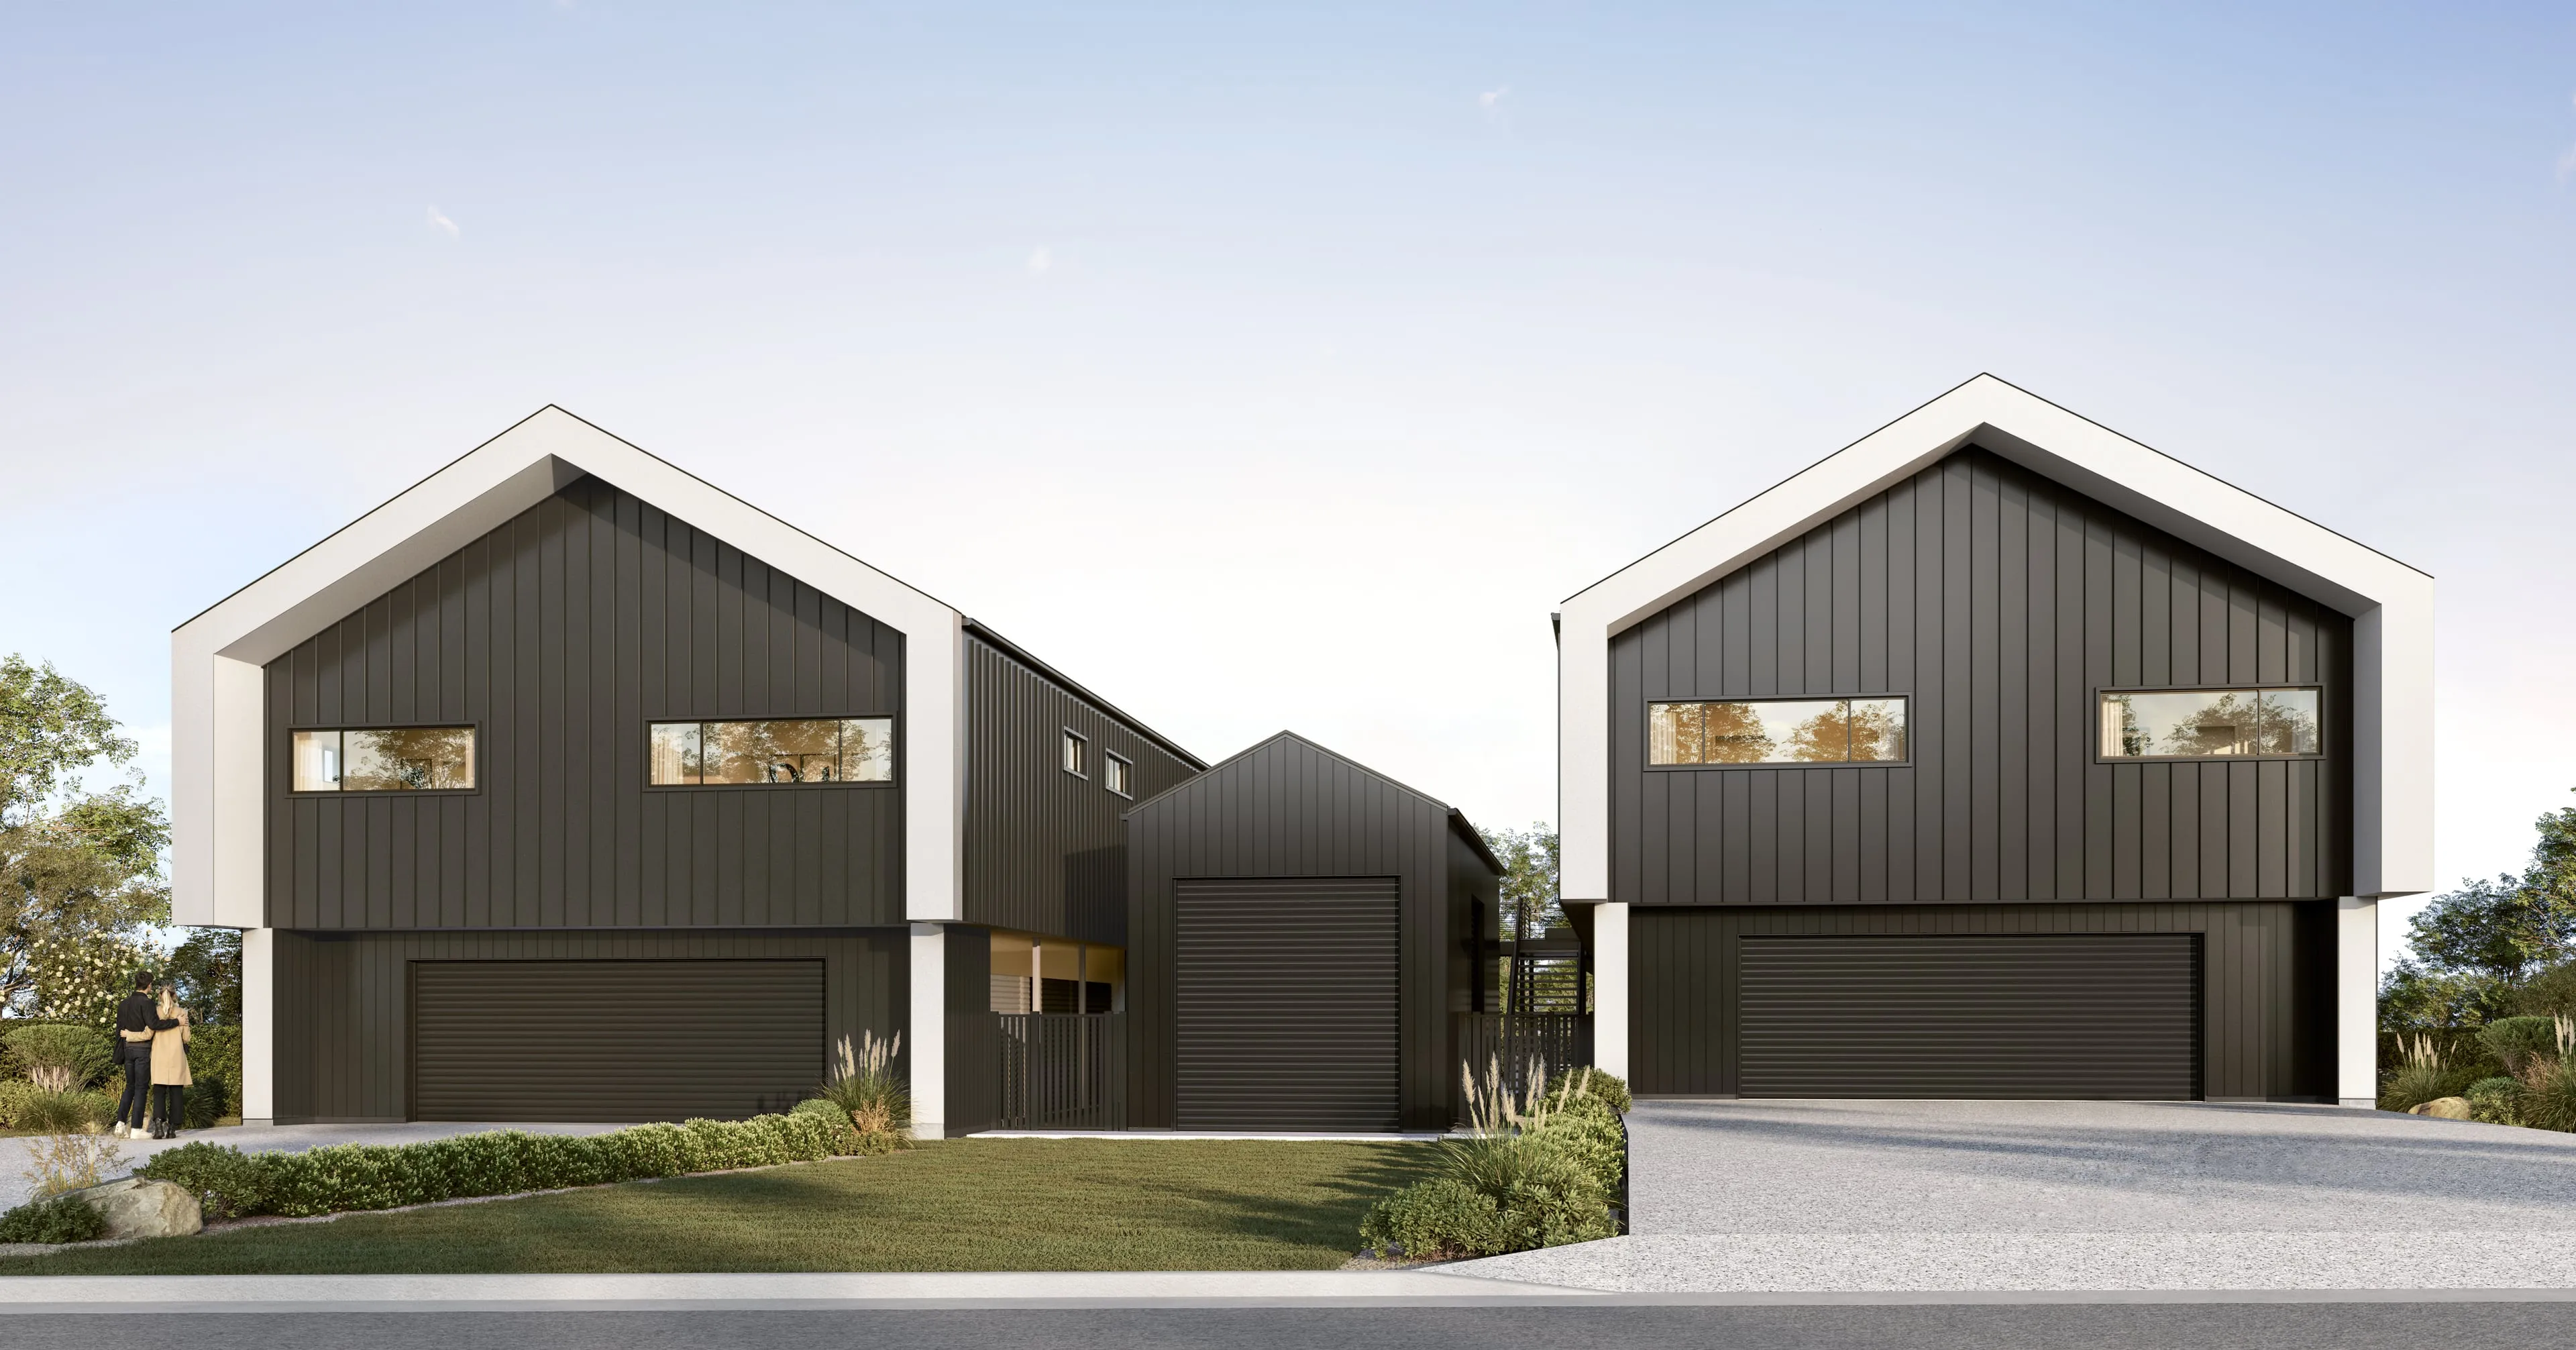
Pittsburgh’s application is a good model. “All submissions for review shall be to ‘presentation’ level.” Drawings are scaled with dimensions, materials and textures labeled, and include “site plans, floor plans, elevations, building & wall sections, and perspective renderings.” Cut sheets show the proposed materials, circled or highlighted, and photographs show the building and its neighbors: “Do not submit screenshots from mapping websites” (City of Pittsburgh, COA application, version 2025-09-28). Alexandria asks for elevations that show the relationship to adjacent structures, with materials and colors “specified and delineated on the drawings” (City of Alexandria, BAR application).
What that means for the rendering:
- Render the cut sheets. The brick, window profile, siding and paint color circled in the packet, and named on the elevations, are what appear in the image. A nicer material than the specification is a contradiction the commission will find.
- Model the details a district is made of. Cornice lines, window muntins, trim depth and mortar joints are what a commission reads, and what a generic model leaves out.
Rendering into real photographs
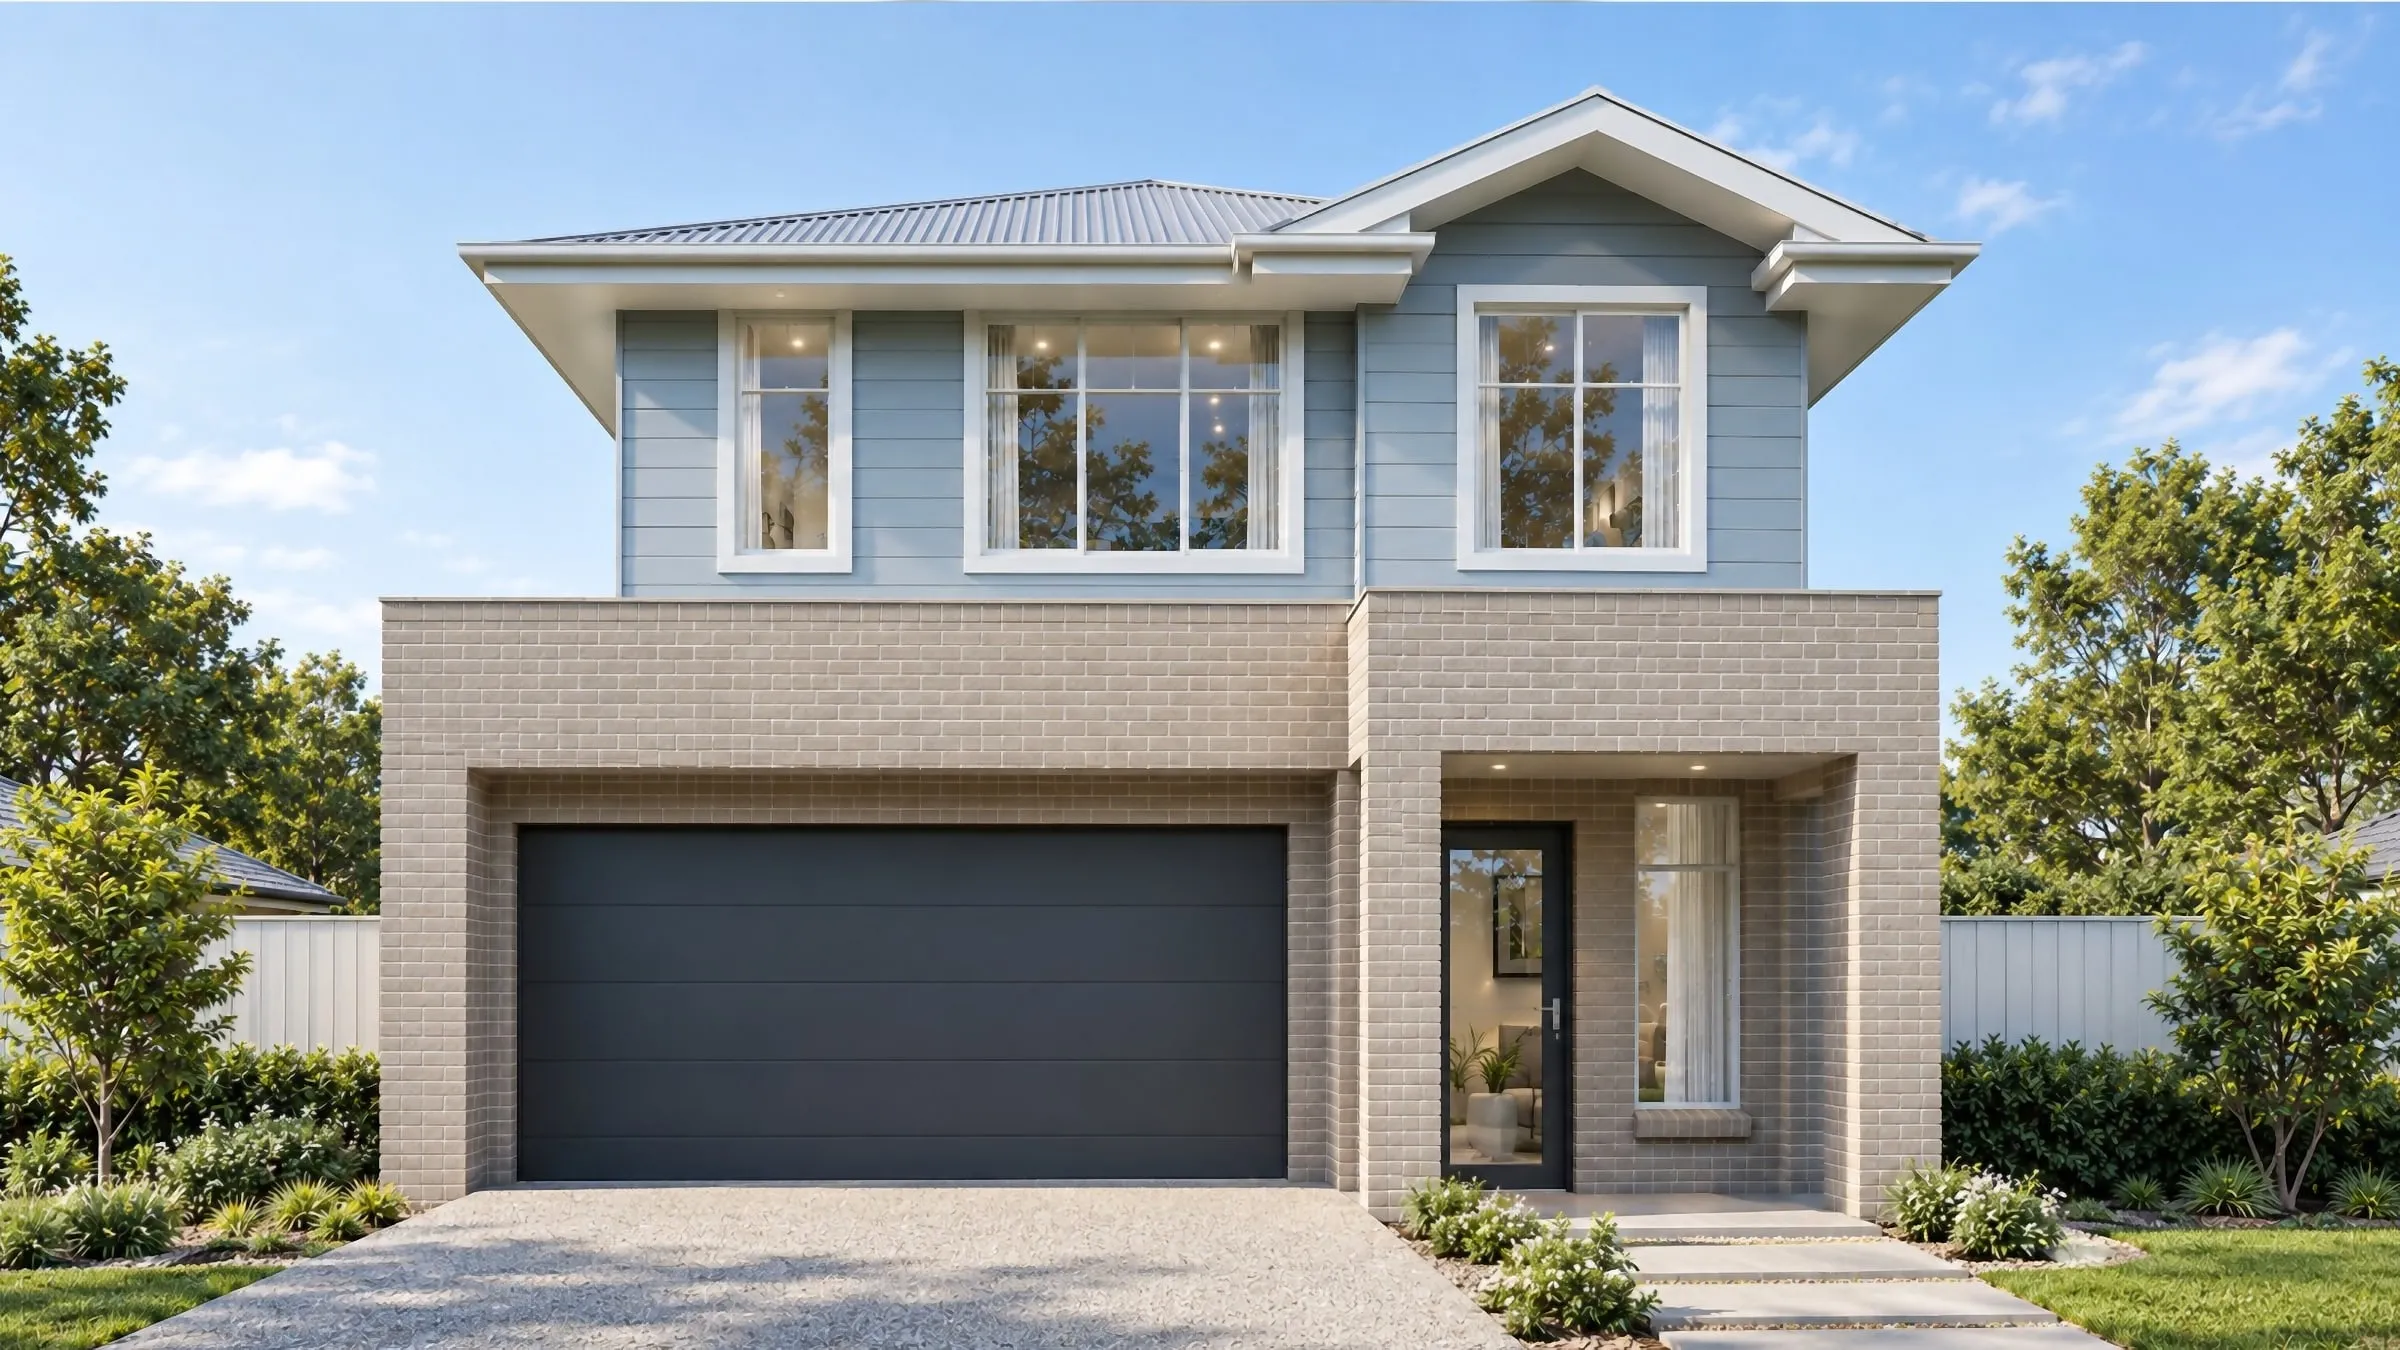
Often the most convincing image is the street as it is, with only the proposal added. New York’s guidebook accepts a photo montage that is “a hand-rendered or computer-rendered image utilizing a combination of photos and 3D modeling or a full 3D model”, as long as the image shows the addition’s design and scale “clearly and honestly”. Boston also rules out screenshots from Google Street View and other mapping services (Boston Landmarks Commission), so the photographs are your own. This is how we make the montage:
- Photographs from the public way. Current photos at eye height from each viewpoint on the key plan, noting where you stood.
- A model from the drawings. The building and the new work are modeled from the drawings and survey, so the scale comes from the documents, not the photograph.
- A matched camera and light. The virtual camera takes each photograph’s position and lens, and the new work takes the sun and weather of the moment the photo was taken.
- The pair. The untouched photograph is the “before”; the same frame with the proposal is the “after”.
Show the new work where it really sits. Planting added in front of it, or a camera moved a few feet to lose it behind a parapet, defeats the point, and a commissioner standing at the mockup will notice. Keep the light neutral: daylight that shows the materials, not a dusk sky that turns an addition into a warm glow. The same honesty applies to any approval image; see what planners actually want from your rendering.
Community board first, then the commission
In New York, an application that goes to a public hearing is presented to the local community board first and then to the full Commission, and “applicants must present the same proposals to the community board and to the Commission.” The board’s recommendation is not binding, and the LPC asks applicants to wait for the Commission’s review before changing the proposal (NYC LPC).
So plan one image set for both meetings, made to hearing quality from the start. If the Commission asks for changes, the same cameras re-render the revised design, and the new pairs line up with the old. Other cities add an earlier step: Alexandria requires a pre-application meeting for every proposed addition (BAR application), and for major construction Boston says an early, informal presentation of concepts to its Commission may be helpful before filing (design review guide). Massing views from the final camera positions serve that meeting and carry through to the hearing. Our New York, Boston, Philadelphia and Washington, DC pages cover how review works in each city.
Typical image sets
A commission needs enough views to answer the visibility question, and rarely many more.
- Rear addition. The street view at eye height, showing whether the addition appears above or beside the building, plus a view from any alley or side street that looks at the rear. Each as a before-and-after pair.
- Rooftop addition. Across the street, down the block both ways, and the point where it shows most, each beside its “before”. The mockup photos and the renderings should share camera positions.
- Infill in a district. The new building between its real neighbors at eye height, and a view down the block showing how the cornice and height lines carry through.
- Storefronts, porches and windows. One or two close, eye-level views of the changed elevation, before and after, near enough to read muntins, trim and materials.
Cost and time
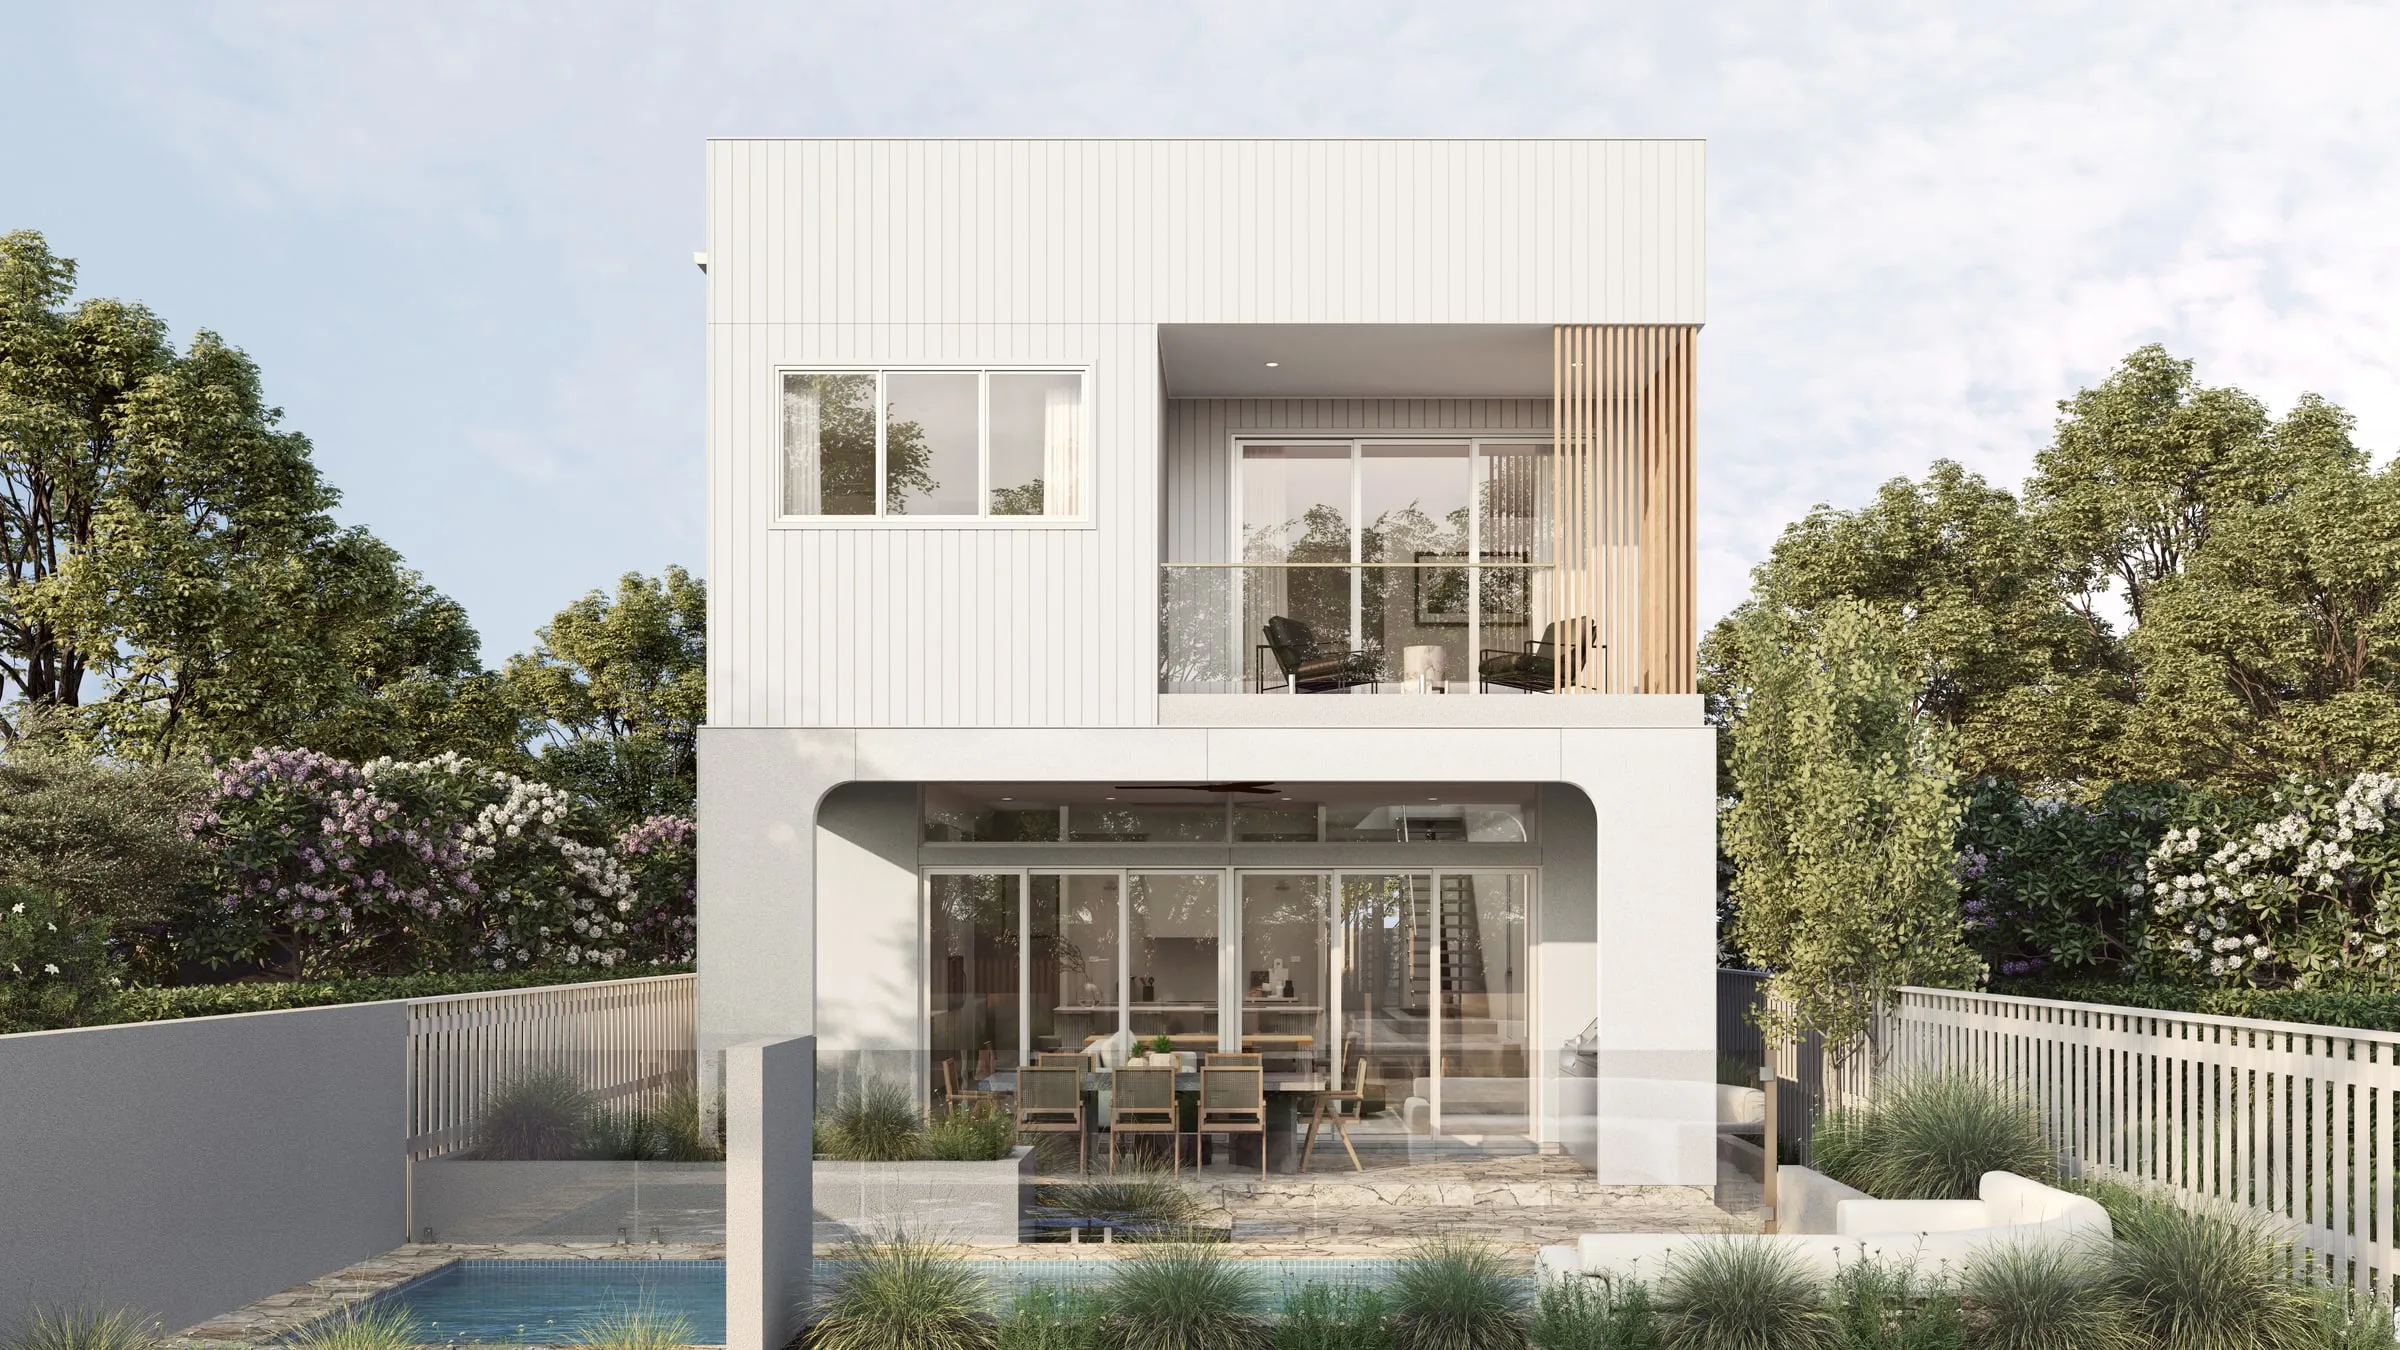
Our exterior stills start from $1,200 each, with the full list on the pricing page. Once the scene is built for the “after” view, a “before” from the same camera adds little, and each further view costs much less than the first. A still usually takes 3 to 4 business days once the drawings are settled, and you will have a fixed price, a written scope and a delivery date by the next business morning.
Let the hearing set the schedule. Alexandria wants a complete application at least 30 days before the hearing date (BAR application), and New York says to expect at least a month between a completed application and the hearing (NYC LPC). Work back from the earliest date, including the community board’s, and allow time for a round of your own changes.
What to send
- The drawings as they will be filed: elevations, roof plan, sections and any sightline sections
- Photographs of the building and its neighbors from the public way
- The survey or a scaled site plan
- Cut sheets for the proposed materials
- The district’s design guidelines, and any comments from preservation staff
- The dates of the community board meeting, the filing deadline and the hearing
How to brief a rendering studio covers the rest. If the work is a house renovation, renderings for renovations and additions covers how the existing house is modeled. For what review boards ask beyond historic districts, see what eight US cities’ design review boards ask renderings to show.
See how we work with architects and on exterior rendering, or send us the drawings and your district’s design guidelines.